
SIMPLE SHORTCUTS & SECRETS
Photo Editing Made Easy
For busy wedding & portrait photographers so you can close that laptop sooner.
How I Personalize Lightroom—Take the Tour!
“How do they decorate their apartment?” 🤔
This is something I often wonder about because I live in an apartment building where many of the units have the same layout.
How do they hide the fuse box that's right in the middle of the archway? What’s their living room setup like? And does their dishwasher also sound like a semi-truck shifting gears in the rain?
Important questions, right? Ha!
In the spirit of curiosity, I thought it’d be fun to share a peek at my editing workspace in Lightroom. Think of it as a little tour of how I’ve personalized it to suit me.
Personalizing Lightroom makes it so much easier to navigate, helps me see exactly what I need, and ultimately improves my workflow.
Your Weekly Photo Editing Tip
Did you know you can personalize your Lightroom workspace? You totally can!
And it makes navigating Lightroom so much easier. Sit back while I take you on a tour of my custom Lightroom workspace.
Links at the Top
First up, I’ve “decluttered” all the links at the top of my Lightroom workspace. I kept accidentally clicking the wrong ones, so I figured out how to hide those I don’t use. I just need two: Library and Develop.
I also kept the cloud icon because it’s cute, and I don’t usually have an issue avoiding it. 😉

Metadata Filter
Next, you'll see my customized Metadata Filter. It’s set to show me exactly what I need when working with client catalogs—things like Smart Preview status, camera/lens info, color labels, edited/unedited status, and whether the image is in color or black and white.


Library Grid Image Info
In the Library Grid, I’ve personalized the image info. Each image shows the camera, lens, file, and the number it holds in the catalog or collection.
I also set the tint opacity of the color labels to 40-percent instead of the default. This makes the color labels stronger so they are easier to see.

Toolbar
Let’s talk about the toolbar—it’s super customizable! Many of the options are hiding by default, but I’ve turned most of them on.

Customize Right Panel (Develop Module) Moving on to the Develop module, I’ve rearranged the right panel and removed one of the sections. For example, I prefer the Transform panel at the bottom and rarely use Calibration, so I’ve taken away that panel altogether.
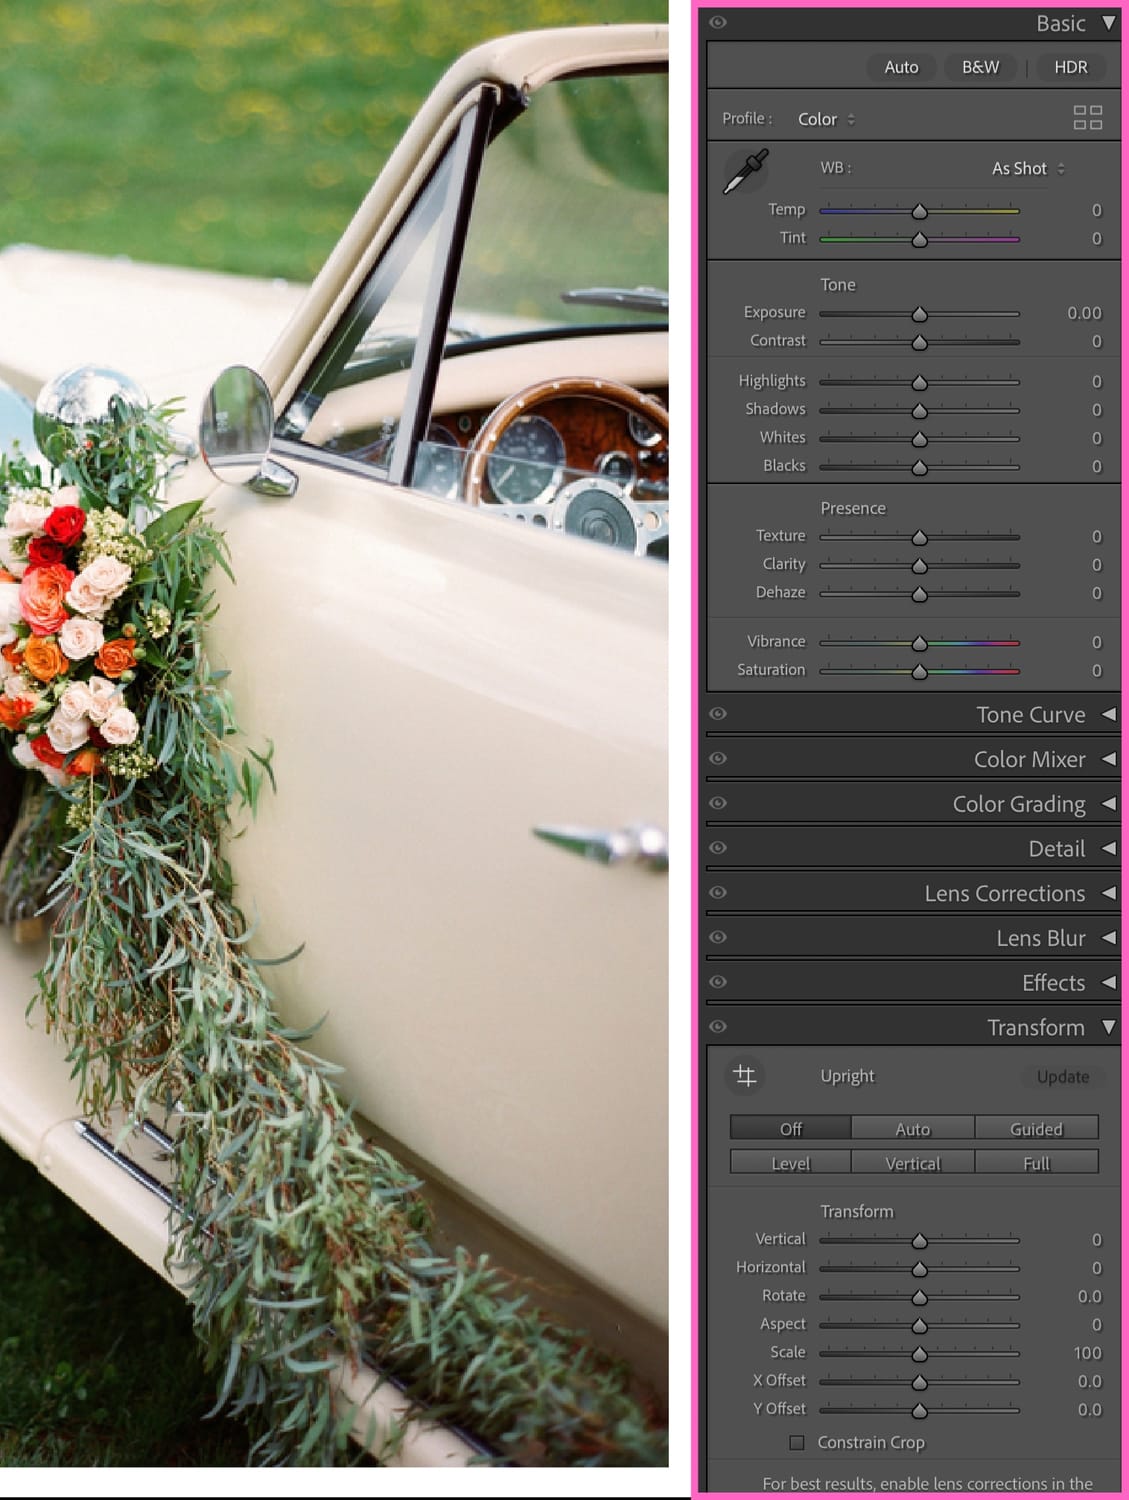
Background Color I’ve set the background color in the Develop module to white. It helps me monitor the white balance easily with a pure white background.

Develop Image Info In the Develop module, I’ve also customized the image info that shows in the top left corner of each image. I like seeing the file name, camera and lens focal length. If there’s a difference between the reference image and the image I’m editing, the focal length is often the reason.

Filmstrip Finally, let’s talk about the Filmstrip. I’ve enlarged it to the max, which helps me keep an eye on consistency while editing. And I keep the filter at the top of the strip open.
Plus the color label opacity that was set for the Library Grid also applies to the film strip.

And that’s the end of the tour! Be sure to browse the gift shop on your way out. Haha, just kidding. 😀
Happy editing,
Erika

Check Out the Newest Posts
Hey there photographer!

I'm Erika. I'm a private photo editor for wedding photographers and photo editing educator. Think of me as your techy friend who loves figuring out the shortcuts in Lightroom Classic so you don't have to.


Blog Categories


(Affiliate Code)


Online private photo editor based in Cleveland, Tennessee, serving wedding photographers worldwide.
Services
Color Correction
Style Matching
Lightroom Classic Retouching
Image Culling

Copyright © 2020-2026 Erika Swafford. All Rights Reserved
Created with Systeme.io